


news
about
manual
install
configuration
usage
advanced usage
options
FAQ
download
contact / bugs
links
Usage
Execute tuxrip in a console, as user :
./tuxrip
The first time, tuxrip needs to generate a config file, see "configuration" section.

Type a project name without space, or press "Enter" for using the default name (as detected on the DVD itself). The script will create a directory with this name in the working directory, and inside it will create the necessary directory tree to rip and encode the title.
Insert a DVD in your player and press Enter. The different DVD titles (film, bonus,...) are displayed with their duration and aspect ratio. Select the title to encode by typing its number. By default, if you press Enter, the longest title (the film) is selected. If several angles are available, tuxrip will a sk which one to use. Finally, the audio streams are displayed too (format and language).
Then tuxrip wants to know the starting time of the end credits. This allows you to encode the end credits with a higher compression, so that more space is allowed to the film. The movie is displayed in a MPlayer window with the time in OSD. Note the beginning time of the credits and press Escape to close MPlayer. You can use the usual commands to go forward or backward in the movie (arrow keys). Type the time corresponding to the beginning of credits using the hh:mm:ss format. If you don't want this feature (you want the same quality for the credits and the movie), just press Enter. By default, the value corresponds to the end of the video stream, so quality is not reduced.
The title is then ripped on the hard drive, i.e. decrypted and copied as a vob file, whose size is generally bigger than 2Gb. Thus it is not possible to use a FAT32 file system (use instead a real FS like ext2, ext3, ReiserFS…) However, a FS detection and a –split option have been recently added to allow the ripping of the DVD into 2GB vobs on FAT32 file system. This is not recommended though, since it may lead to A/V desync.

The script automatically calculates the normalization factor of the audio stream. Then the user is asked to enter the quality factor used for the OggVorbis compressed audio stream. In general, a value comprised between 1 and 2 is sufficient to obtain a very good sound quality (see the FAQ). You may enter a decimal number.

Tuxrip detects automatically the black borders around the image, which will be removed in the final compressed video file. The cropping parameters are shown, and an image of the movie with a white rectangle corresponding to the cropping values is displayed. If the white rectangled englobes the image correctly, say yes. If not (it can happen with a very dark image), say no, and the cropping will be detected on another position in the movie. Carry on until you obtain a correct cropping.

The following step calculates the parameters for the video encoding. Enter the size of your medium (choice 5 allows any size), and the aimed Quality Factor (QF) corresponding to the number of Bits per Pixel and per Frame. The QF determines the global quality of the image and depends on its compressibility (some movies can be more compressed than others, depending on the dynamic and content). A correct QF value is a compromise between the image quality and the size of the compressed movie. A too low QF degrades dramatically the image quality, but a too high QF is an overkill and implies a too small output resolution. As a rule of thumb, encode your movie with a QF of 0.2-0.22 for 1CD and 0.26-0.30 for 2CD. These values are a rough estimate, however tuxrip has a compressibility check option (--test-comp) that allows to find out more precisely the optimal QF for that movie (see options and advanced usage).
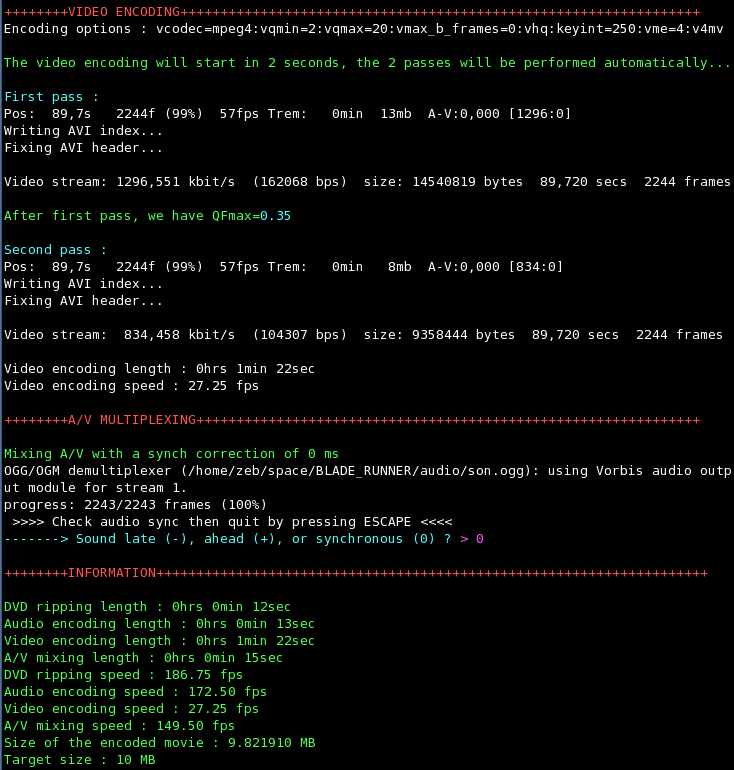
The video encoding is a 2-pass encoding. Its duration depends on the codec parameters and the speed of your computer. An option allows you to automatically shutdown your computer, which is useful for nightly encodings.
Then tuxrip mixes audio and video streams in an ogg container file (ogm) and allows you to check the a/v synchronization.
Voila ! The finished file, called project.ogm, is located in the video sub-directory. You may enjoy it with Mplayer under Linux, or under Windows, after installation of mpeg4 and oggDS video and audio codecs.